Linetomic
In 2011, I bought a Zoom H1 digital recorder to document the gigs of my 'Überostern'- Tour. It's a handy little device that has great microphones. It's built entirely out of cheap plastic, which makes it a bit awkward to handle while recording.
 If you want to have a clean recording, that is. I usually don't care too much about such things, but then I'm also doing hardcore field recordings on really windy days without windscreen. Waaaah! Amazing distortion!
Anyways, I forgot to record about the first three concerts of that tour because of being too excited. After I finally managed remembering to connect the device to my mixer as well as turning it on and pressing the sufficiently obvious big silver button with the red spot in the middle, I was presented with my set In completely over-the-top digitally distorted. Waaaah! Annoying distortion!
First I thought that my recording levels were too high, so I fiddled around with those, but it didn't really help. For the tour, I refrained to recording my gigs with the microphones, which gave me a good idea of what everyone in the room was talking about, but not really what my set sounded like. In hindsight, this might have also been caused by my poor choices for positioning the recorder. In any case, it left me with a bunch of sub-par recordings and I soon lost interest. The H1 landed somewhere in a box and I henceforth only used it to do very occasional field recordings or annoy my friends by randomly documenting their drunken conversations.
Zip froward to 2014: In the meantime, I've done some reseach and found out that the Zoom H1 has an input which only accepts microphone levels. Even if it says mic/line on the input socket.
Line levels (the ones coming out of my mixer) are about 40 db higher than the ones a microphone produces, which means that they are being amplified right after coming in, before the volume controls of the device. There is no convenient way to get around the preamps, so the Signal had to be lowered somewhere outside the recorder.
 There are cables and adapters of any pricerange imaginable around, incorporating the circuitry to attenuate the signal in this way, but I decided to build an adapter myself after I found out that the circuit in question is ridiculously simple and all the parts I needed were already around. I'm sure that even if you don't know the first thing about schematics, you wouldn't consider the one to the right overly complicated, Not even if it has to be built twice, for stereo. It was a fun little project that turned out very satisfying because it didn't take long and yielded some nice gif animations of the single steps.
To be fair, the animations I made are the main reason I'm writing this article at all. I probably wouldn't really have bothered writing about such a small project otherwise.
So here:
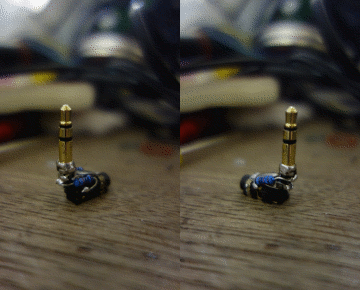
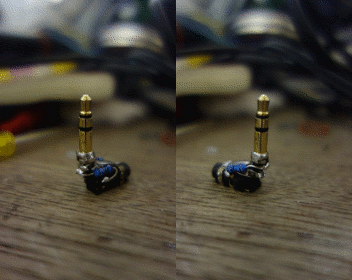
 Here's what I started with. A stereo mini jack I cannibalized from a pair of broken headphones and a stereo minijack socket I found in one of my boxes. note the metal bits I soldered to both of them that would form a common ground later and also keep them at the right angle, once I put it all together.
 I had some surface mount 100 Ω resistors around for connecting the output to ground, as you can not very clearly see on the picture to the right. Sorry about that, sometimes aesthetics come before being informative...
 Next thing was connecting the ground planes of plug and socket. I actually took this picture before I soldered the 100 Ω Resistors to ground, which meant, that I had to take the whole arrangement apart again, put the resistors in place and then put it back together.

 Then came the 10 KΩ resistors. I didn't have any of those in SMT, so I took regular ones. I made two animations out of this step for no other reason than being able to do so.
 Once everything was in place, I did some tests, and it worked. wheee! I kind of wouldn't really have expected it otherwise, given the simplicity of the whole thing, but you never know.
It wouldn't have been the first time I've made some stupid mistakes with soldering, and then spending hours on troubleshooting, only to realise that it's a bit too late and I'll have to completely take everything apart again.
 Too late it definitely would have been after I covered everything with epoxy putty to reinforce the structure and to form a nice casing for my converter.
So yeah. 2 hours well spent on building a device from scrap materials and spare parts that I would otherwise have had to pay at least 2-3 Pounds for. I was so pleased with myself that I started showing it around to my Housemates, awkwardly trying to explain what it was and why it was special. Most of them looked at me like I was a crazy person.
And it works well. Ever since I built it, I've been recording so much material that I don't quite know what to actually do with it.

Neat. I did similar for my Zoom H2.
The line in level is a mistake. It's pretty accurately -10dB with zero headroom. i.e. it's the spec for a consumer audio unit, but mistaking a nomimal value for an absolute limit.
Dumb old zoom, huh? :-)